flow wrap machine manual Chapter 4 - mechanism adjustment
In other chapters of the flow wrap machine manual, we introduce the safety precautions, machine introduction, installation of flow wrap machines. This article we will introduce the adjustment of various devices of the flow wrap machines.
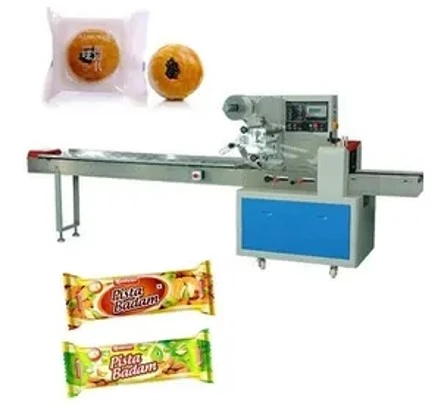
4.1. Feeding device
The feeding device of flow wrap machine for sale is equipped with pusher chain. The tension of the pusher chain is adjusted by two "pusher chain tension adjustment hand wheels" on the left end of the feeding device. After determining the item to be packaged, adjust the width of the feeding device guide chute to allow the item moving smoothly in the guide chute.
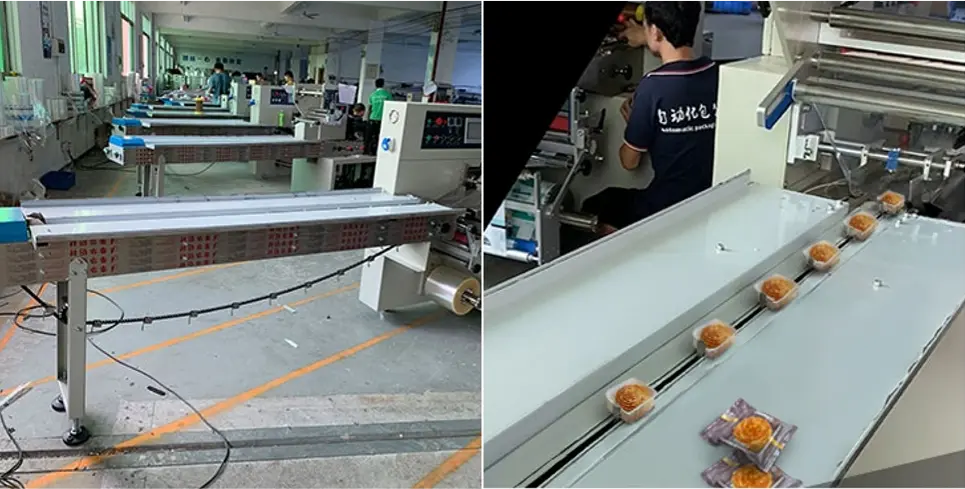
4.2. Film feeding device
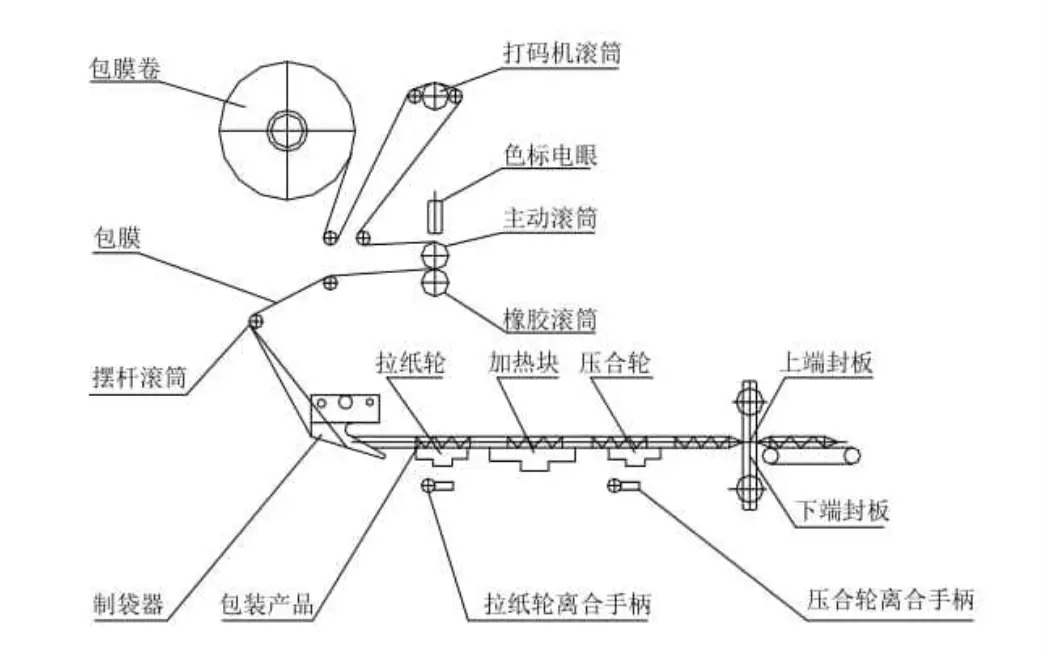
1) The path of flow wrap machine film After the flow wrap machine film roll is mounted on a roller with automatic centering and clamping, the film must follow a certain path. And the path may vary slightly depending on whether a coding machine is installed or not (see Figures 4 and 5). No matter which kind of path the film follows, when the film enters the bag maker, open the middle sealing handle to feed film through the pulling wheel, middle sealing heating plate, and pressing wheel. Then close the handle, activate the "INCHING" function to allow the film to pass through the end sealing device, completing the flow wrap machine film installation.
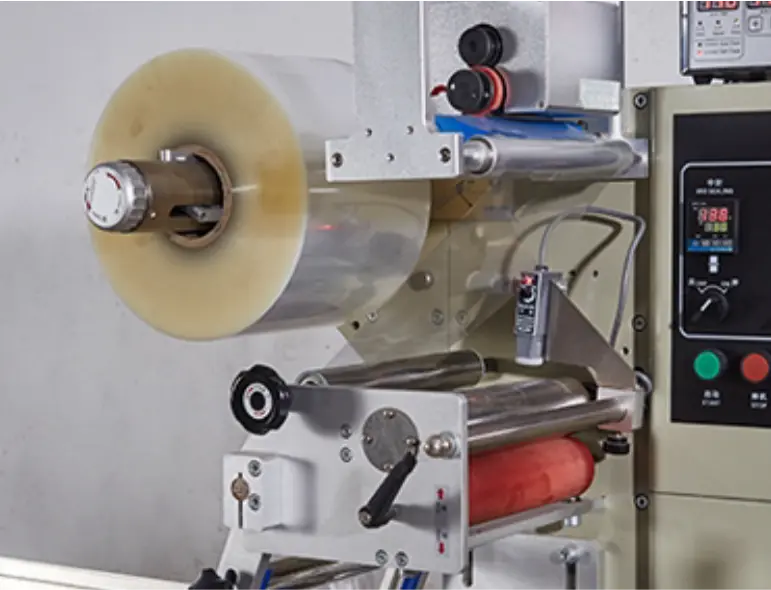
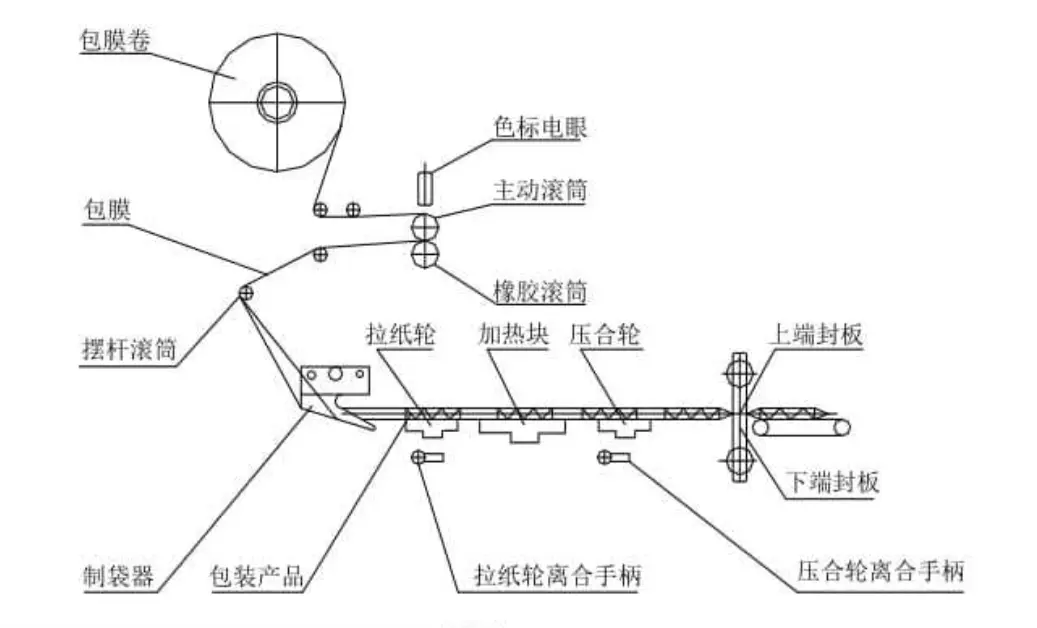
2) Adjustment of the film tension and centering
When the flow wrap machine film passes through the bag making device, if the film tension is uneven - tight on both sides and loose in the middle, or loose on both sides and tight in the middle, it will cause improper film feeding. To achieve even film tension, it is necessary to adjust the position of the swing lever (see Figure 2 in flow wrap machine manual Chapter 2- machine introduction) or the angle of the pendulum rod to change the relative position between the swing lever and the bag making device.
If the film on both sides of the middle seal is uneven in the packaged product, adjust the “The adjusting hand wheel for the position of the film” (see Figure 2 in flow wrap machine manual Chapter 2--machine introduction). Turn the hand wheel clockwise will move the film inward and counterclockwise will move the film outward. Adjust it according to the specific situation until the film on both sides of the middle seal is aligned. Note that the amount of each adjustment should not be too large (because the effect is not immediately reflected).
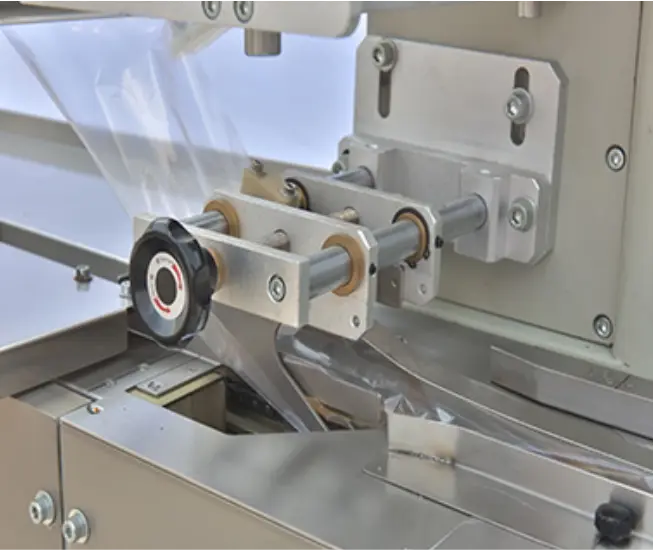
◆ 4.3. Bag-making device
2) Adjustment of the film tension and centering The bag making device can adjust the bag width and fix the film angle. It should be specifically customized according to the product size. The width of the bag making device should be based on the width of the packaged item, plus a gap of about 5mm, for the most suitable fit. When adjusting the height of the bag making device, loosen the fixing hand wheel and adjust the height dimension by moving it up and down. The height of the bag making device should be based on the height of the packaged item, plus a gap of about 10mm, for the most suitable fit. After adjusting the height, tighten the fixing hand wheel.
◆ 4.4. Middle sealing device
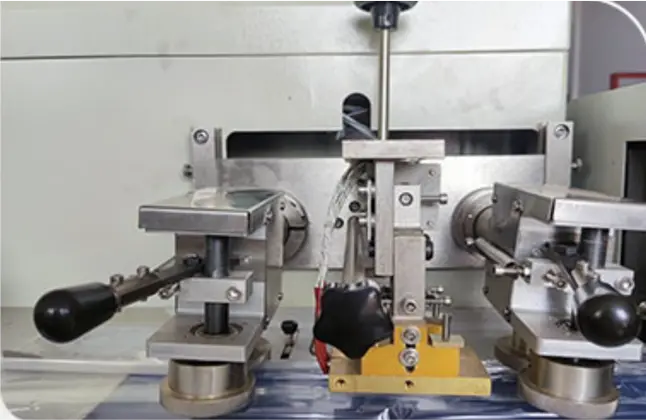
The middle sealing device of flow wrap machines (https://yansumigroup.com/small-flow-wrap-machine/) is mainly composed of a pulling wheel, heating block, pressing wheel, clutch handle, and pressing wheel speed adjustment hand wheel. When the film passes through the pulling wheel, heating block, and pressing wheel, if there is film accumulation or film pulling between the pulling wheels and pressing wheel, it should be adjusted using the "pressing wheel speed adjustment hand wheel.“
The effect of the middle seal should be firm and have clear lines. Otherwise, adjustments should be made according to the following requirements:
1) Place a carbonless copy paper between two sheets of white paper and turn it around the middle sealing wheel for one revolution. Upon opening, the imprint should be clear and uniform. If not, adjust the position where the two wheels mesh, observe the imprint again, and adjust repeatedly until the imprint is clear and uniform.
2) If the sealing quality is still not good despite proper meshing and suitable temperature, the positioning screws can be adjusted to limit the meshing pressure of the sealing wheel until the sealing is good.
It should be noted that the middle sealing components of flow wrap machines are adjusted and qualified before leaving the factory, and in most cases do not need to be adjusted.
◆ 4.5. End -sealing device
1) Adjustment of end seal holder and cutter
The seal holder of flow wrap machines has been carefully adjusted and strictly inspected before leaving the factory, and in most cases do not need to be adjusted.
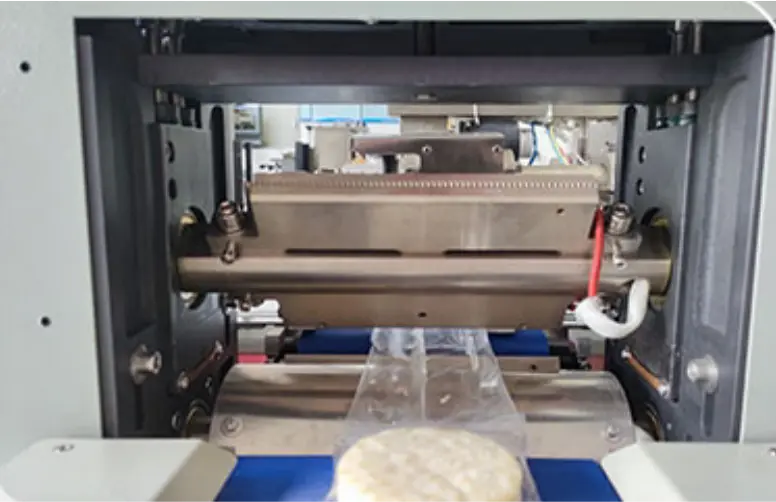
If it is necessary to adjust the seal holder, use two sheets of white paper with carbonless copy paper in the middle to observe the imprint. If the imprint is uniform and the pattern is clear, the seal holder position is correct and no adjustment is needed. Otherwise, the seal holder needs to be adjusted. The adjustment steps are as follows: first loosen (but not completely detach) the M10 screw on the seal holder, then adjust the lateral adjustment screw to correct the displacement of the seal holder until it is properly, and finally tighten the M10 screw. Note that the adjustment of the seal holder should be carried out under unheated conditions. The adjustment of the cutter generally uses copper gasket method. The adjustment principle is to cut off the film just right and the meshing sound is not too loud. If it is not possible to adjust it properly no matter how it is adjusted, the cutter must be replaced. When adjusting the cutter, be sure to carry it out under heating (about 120°C).
2) The height position adjustment of the end seal holder
For packaging products of different heights, the height of the end seal holder should be adjusted so that the center of the end seal meshing is at the same height as the center of the packaged product, as shown in figures 4 and 5.
The adjustment method is as follows: first loosen the four screws on the side plate of the seal holder, and then adjust the end seal lifting adjustment bolt (the middle bolt) to make the distance between the upper and lower end seals at the meshing point and the working plane 1/2 of the packaged product height. After completion of adjustment, be sure to tighten the four screws that were loosened before starting the small flow wrap machine.
3) The adjustment of the end seal speed
For packaging of different lengths, the speed of the end seal should be adjusted accordingly. The adjustment principle is that the linear speed of the end seal should be the same as the speed of the packaging film; it means the cutting blade should not accumulate or pull the film during cutting. If accumulation occurs, that is, the seal speed is slow; “the adjusting hand wheel for speed of the end-sealing (see flow warp machine manual chapter 2---machine introduction figure 2) " should be adjusted towards the fast direction. If pulling occurs, that is the seal speed is fast, “the adjusting hand wheel for speed of the end-sealing” should be adjusted towards the slow direction until they are synchronized.
4) The adjustment of the end seal cutting position
The feeding push rod and the end seal of the compact flow wrap machine have different synchronous linkage relationships due to the different lengths of the packaging. Therefore, the synchronization relationship between the feeding push rod and the end seal should be adjusted. The adjustment steps are as follows:
In the case where the packaging film is printed with a color mark
(1) To adjust the cutting position of the end seal to be at the color mark when the bag is empty, click "Parameter Setting" on the operation interface of the flow wrap machine, and then set the value of "Cutting Position" to achieve the desired adjustment (see section 5.1 for setting method).
(2) Take 3 to 5 packaging items and place them into the feeding pushers. Start the compact flow wrap machine and stop it when the packaging items reach 100mm before the end seal position.
(3) Check if the packaging item is between two color marks, and observe and remember the direction and amount of any deviation
(4) Remove the packaging item, and then adjust the position of the feeding pushers by using “the adjusting hand wheel for the position of the pusher” (push the hand wheel inwards before rotating) to adjust the position of the packaging item.
(5) Repeat steps 2 to 4 until the packaged item is positioned between the two color marks.
In the case where there are no color marks printed on the packaging film
(1) Take 3 to 5 packaging items and place them between the feeding pushers of the compact flow wrap machine. Start the flow wrap machine and stop it when the packaging items reach 100mm before the end-sealing position.
(2)Visually determine whether the end-sealing position is in the middle of the two packaging items, and remember the direction and amount of any deviation.
(3) Remove the packaging item, and then adjust the position of the feeding pushers by using “the adjusting hand wheel for the position of the pusher” (push the hand wheel inwards before rotating) to adjust the position of the packaging item.
(4) Repeat steps 1 to 3 until the packaging item is positioned in the middle of the two end-seals.
In addition, we will also introduce knowledge on the operation, maintenance of flow wrap machines. We also welcome you to visit our BLOG for more information on flow wrap machines for sale. If you are a flow wrap machine operator, we believe that this knowledge will be useful to you.

 +86 19112905173


